Overview
This is my regular MacBook setup guide. The purpose of this article is to keep it handy when reinstalling my Mac so I can complete the setup smoothly.
- (↑ Older)
- (2019-01-19) Traveling with Mac: Year 3
- (2020-05-04) Traveling with Mac: Year 4 - Mojave
- (2020-05-06) Reinstalling Mac in Year 4
- (2021-01-09) Traveling with Mac: Year 5 - Catalina
- (2021-06-02) Traveling with Mac: Year 5.5 - Big Sur
- (2022-04-06) Traveling with Mac: Year 6 - Monterey
- (2023-07-09) Traveling with Mac: Year 7 - Ventura
- (2024-03-29) Traveling with Mac: Year 8 - Sonoma
- (↓ Newer)
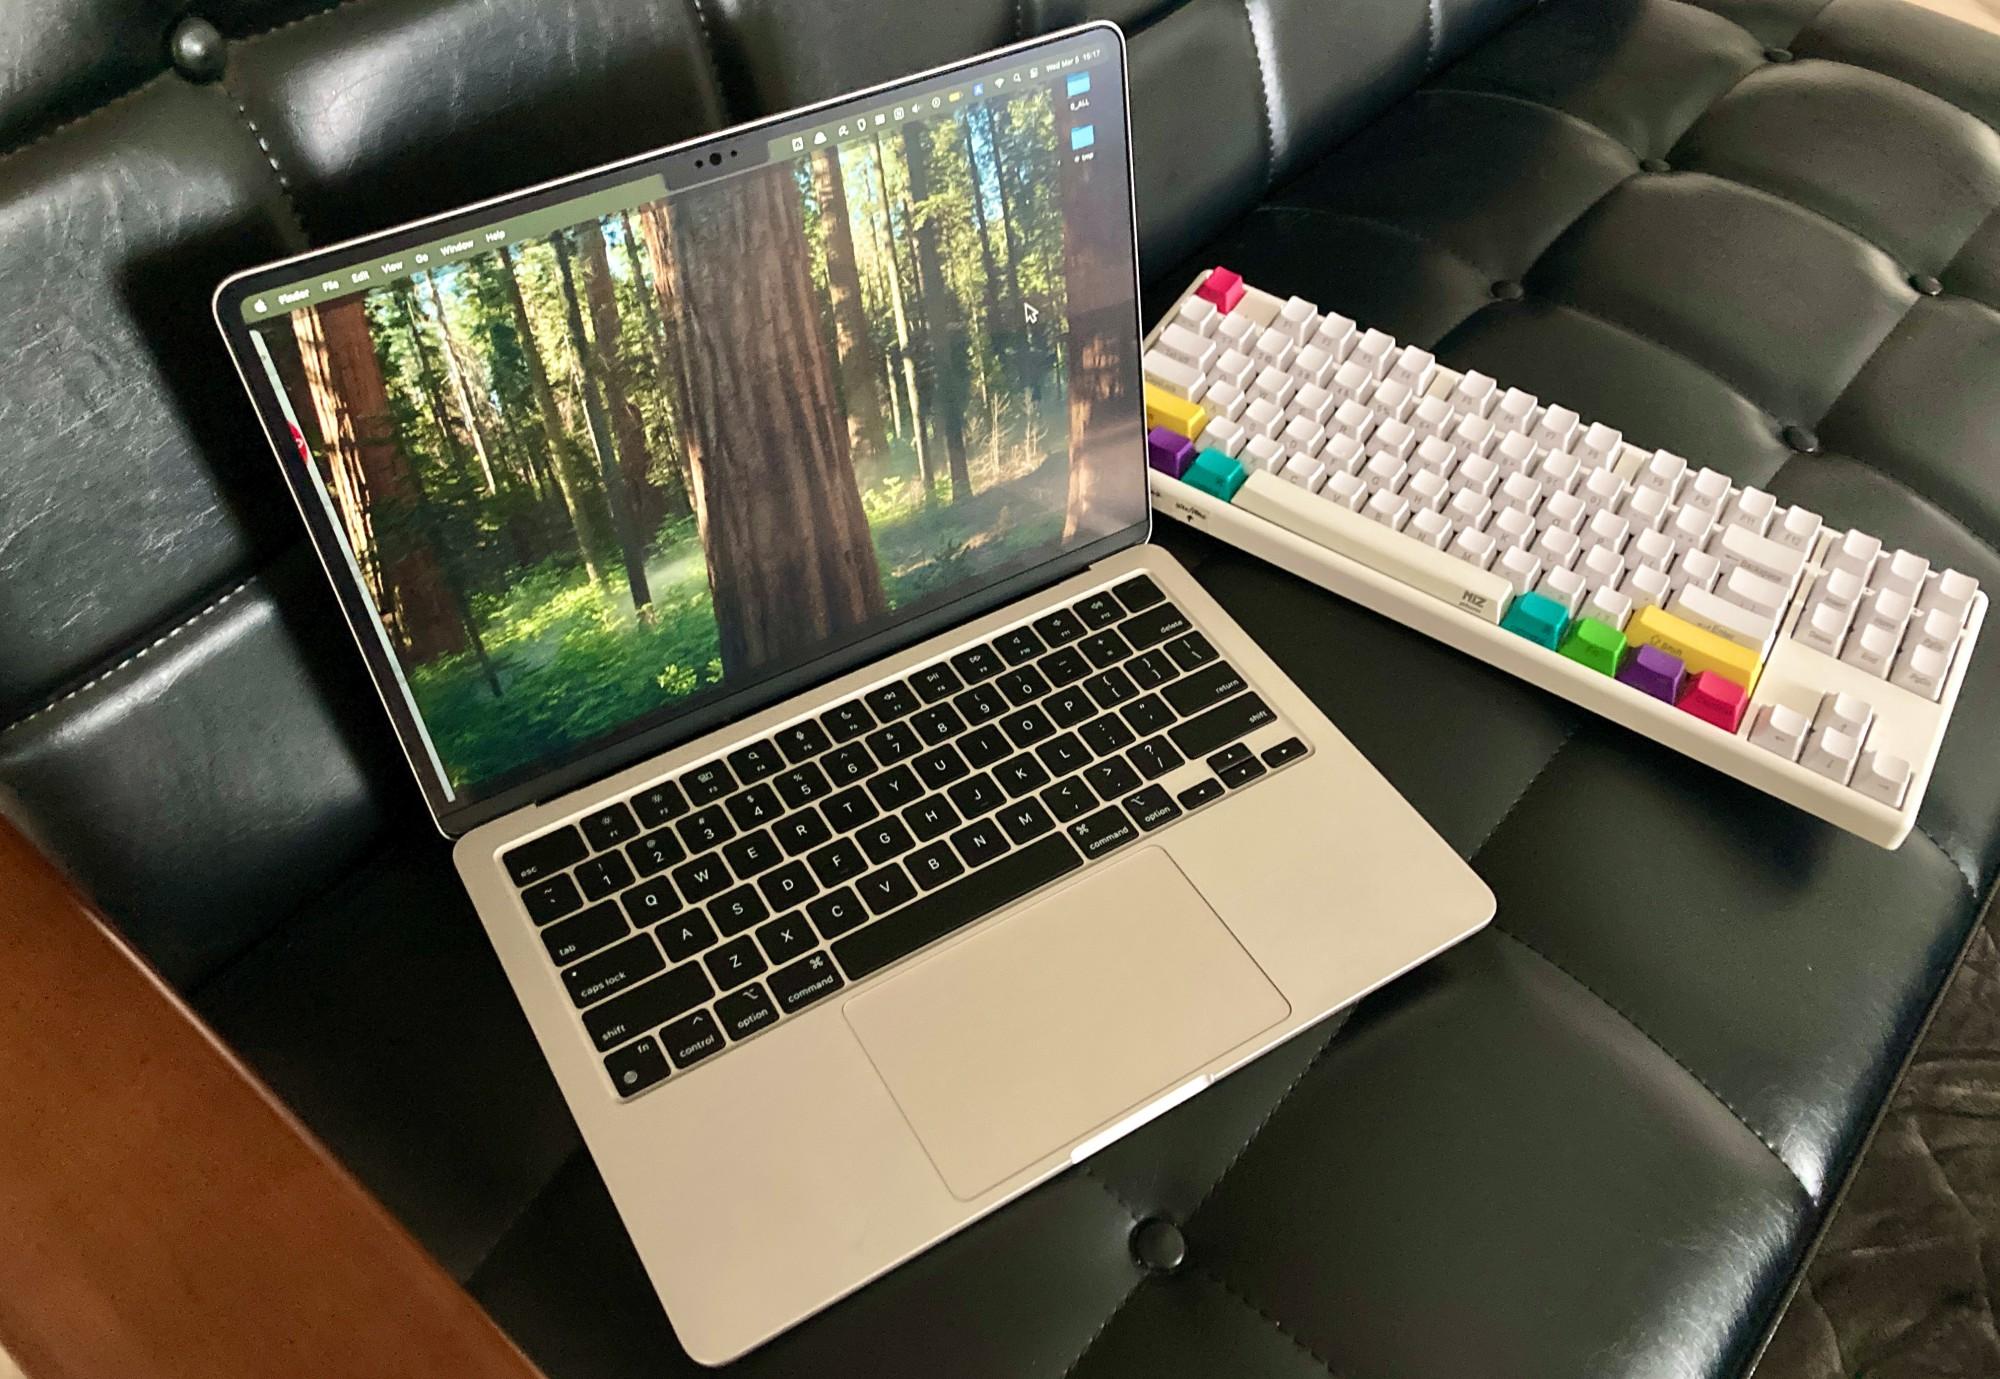
My current MacBooks ↓
- MacBook Pro (16-inch, 2021)
- Referred to as MacBookPro18,1 in this Pro model list.
- MacBook Air (13-inch, M3, 2024)
- Referred to as Mac15,12 in this Air model list.
Upgraded to Sequoia

Clean Installation - My Procedure
Things to Do Beforehand
- Time Machine backups take time, so do it the day before.
- My Sublime Text settings are in my dotfiles, so no worries.
- VSCode settings are synced, so no worries.
- Postman data is stored online, so no worries.
- Export Google Japanese Input dictionary (txt).
- Export MySQL Workbench connection settings: Tools → Configuration → Backup Connections (zip).
- Back up Cyberduck connection settings (copy the contents of
/Users/user/Library/Group Containers/xxxx.duck/Library/Application Support/duck/Bookmarks). - Don't forget to back up
.ssh(though it's also in Time Machine). - Back up FireAlpaca: FireAlpaca > Help > Open Config Folder > Copy everything inside.
- Keep Wi-Fi passwords, wired LAN login details, and Apple ID login details handy on my iPhone (makes reinstalling smoother).
- Understand the difference between
Macintosh HDandMacintosh HD - Databeforehand. Otherwise, I'll end up wondering, "Wait, what was this again...?" during the process. The former is a read-only volume, while the latter stores files and data. - Keep Apple's "Erase and Reformat Storage Devices in Disk Utility" page open on my phone.
- Keep Apple's "How to Reinstall macOS" page open on my phone. The official page is, after all, the clearest guide.
Clean Installation and Reinstallation
Follow both official guides above.
Configuring via Terminal
# Finder settings
defaults write com.apple.finder AppleShowAllFiles -boolean true
defaults write com.apple.finder _FXShowPosixPathInTitle -boolean true
killall Finder

# Install the essential Homebrew package manager
/bin/bash -c "$(curl -fsSL https://raw.githubusercontent.com/Homebrew/install/HEAD/install.sh)"
# If something goes wrong, uninstall with:
# /bin/bash -c "$(curl -fsSL https://raw.githubusercontent.com/Homebrew/install/HEAD/uninstall.sh)"

# Follow the installation prompt to configure PATH.

# Install necessary packages via Homebrew
brew install coreutils awscli awsebcli azure-cli pyenv pipenv cocoapods ffmpeg battery
brew install --cask brave-browser clipy visual-studio-code docker google-drive github mysqlworkbench karabiner-elements rectangle deepl alfred google-chrome notion sublime-text zoom anki postman sublime-text
Open All Essential Web Pages
# As essential as oxygen
open https://www.google.co.jp/ime/
open https://firealpaca.com/download/
open https://github.com/jbtule/cdto/releases
open https://ethanschoonover.com/solarized/
open https://my.parallels.com/
open https://myrica.estable.jp/
open https://sparkmailapp.com/ja
open https://www.avira.com/ja/free-antivirus-mac
open https://www.logicool.co.jp/ja-jp/software/logi-options-plus.html
open https://www.keka.io/en/

# Used occasionally
open https://www.office.com/
open https://cyberduck.io/download/

# From the App Store
open https://slack.com/intl/en-us/downloads/mac
open https://apps.apple.com/jp/app/demopro-screen-annotation/id1384206666
Post-Installation Tasks
- Launch all installed apps at least once (to generate default config files).
- Verify Google Drive connection.
- Verify iCloud connection.
- Register favorite fonts.
- Clone dotfiles from GitHub and apply them.
- Open Sublime > Install Package Control > Delete User folder > Apply dotfiles > Reopen Sublime.
- Set Chrome as the default browser.
- Set up Alfred: Include Chrome bookmarks and remove unnecessary Web Search checkmarks. (Discovered a trick—sorting by "Enabled" first makes this easier!)
- Configure mouse settings in Logitech Options+.
Further Personalization - System Preferences
- Accessibility > Zoom
- Use keyboard shortcuts to zoom: ON!
- Use trackpad gestures to zoom: ON!
- Use scroll gesture with modifier keys to zoom: ON!
- Accessibility > Display
- Increase pointer size.
- Accessibility > Pointer Control
- Trackpad Options: Enable everything!
- Keyboard
- Key repeat rate: Fast!
- Delay until repeat: Short!
- Keyboard navigation: ON!
- Keyboard Shortcuts
- Mission Control
- Switch to Desktop N: ON!
- Keyboard
- Move focus to next window: Option + Tab!
- Input Sources
- Shortcuts: OFF!
- Spotlight
- Shortcuts: OFF!
- Function Keys
- Use all F1, F2, etc. keys as standard function keys: ON!
- App Shortcuts
- Add a new shortcut:
- Application: All Applications
- Menu Title: Merge All Windows
- Keyboard Shortcut: Command + Control + M
- (Love this shortcut!)
- Add a new shortcut:
- Mission Control
- Desktop & Dock
- Automatically rearrange Spaces based on most recent use: Turn OFF this nonsense!
- Displays have separate Spaces: OFF!
- Click wallpaper to reveal desktop: Turn OFF this annoying feature!
- Control Center
- Configure which icons appear in the menu bar.
- Displays
- Advanced
- Allow pointer and keyboard movement between nearby Macs: ON if I feel like seamless Mac switching.
- Automatically reconnect to any nearby Mac: OK!
- Advanced
Further Personalization - Finder Settings
- Finder menu bar
- Settings
- General tab
- Show these items on the desktop: OFF!
- General tab
- Settings
- Right-click on desktop
- Sort By
- Snap to Grid: ON!
- Sort By


